Water leak damage restoration can be a real headache, but worry not! In this guide, we’re
going to dive into the nitty-gritty of tackling the aftermath of water leak damage.
Whether it’s a leaky tap or a burst pipe, these water-associated mishaps can wreak
damage for your area. So, allow’s roll up our sleeves and get down to the commercial
enterprise of recuperation.
Understanding the Impact
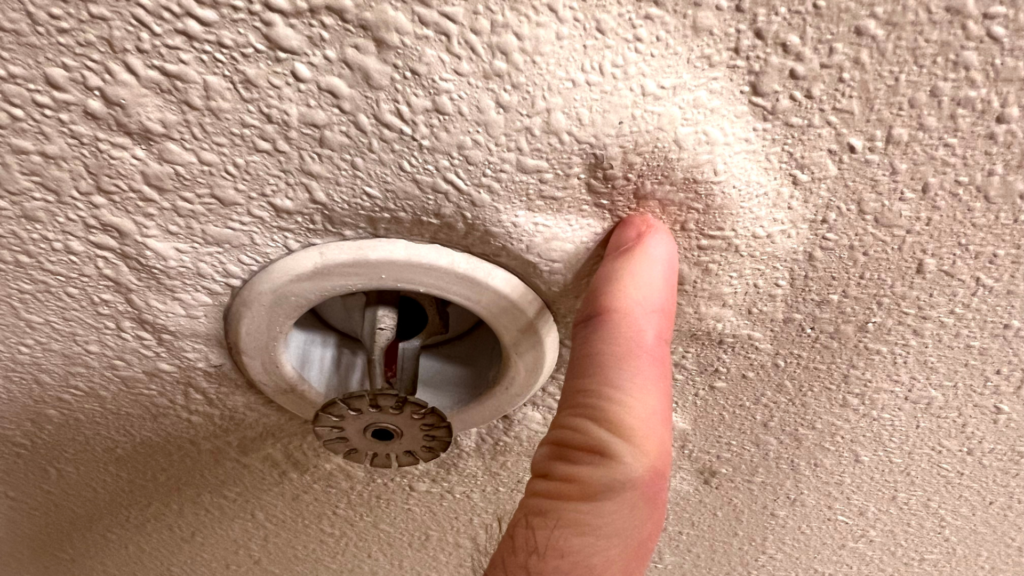
Water leak damage is not any joke it sneaks in like a sly fox, inflicting havoc in its wake.
The key is fast movement. When you are aware of the primary signs and symptoms of
water stains, dampness, or that strange musty smell it is time to kick into tools. Ignoring
it is like letting a small leak change into a flood. Ain’t no one was given time for that.
Assessing the Damage
Before you dive headfirst into restoration mode, take a second to evaluate the extent of
the damage. Is it a minor spill or a complete blown water leak damage restoration? Get
your Sherlock hat on and inspect every nook and cranny. This step is crucial for planning
DIY vs. Professional Help
Now, you is probably thinking, “I can take care of this, right?” Well, it depends. A minor
water mishap is probably your DIY second. Grab that mop and bucket, and address it
like a champ. But while the damage is going past your superhero abilities, it’s time to
name inside the pros. Water leak damage restoration specialists are like the Avengers of
the home improvement global– they have got the skills and the gear to save the day.
Water Leak Damage Restoration Steps
Step 1: Stop the Water Source
First matters first, close off the water source. It’s like stopping a leaky tap from
gossiping you gotta cut off the chatter on the source. This step prevents similarly harm
and offers you a breather to plan your subsequent move
Step 2: Remove Standing Water
Time to get your hands grimy literally. Grab that wet vac or a trusty mop and begin doing
away with the status water. Think of it as a liquid treasure hunt– the quicker you get it
out, the better.
Step 3: Dry, Dry, Dry
Once the seen water is out, it is time to dry out the gap. Open windows, switch on fans,
and let the air paintings its magic. This step is critical to save you mildew from crashing
the water leak damage restoration.
Step 4: Assess and Discard
Nowcomesthetough component– determining what is salvageable and what is no
longer. Some items is probably beyond restore, like a soggy cereal container. Be ruthless
it is your space’s survival we are speaking approximately.
Step 5: Sanitize and Deodorize
Water leak damage leaves greater than only a moist mess. It brings unwanted visitors
like bacteria and that musty scent. Sanitize the affected vicinity and unleash your
preferred deodorizer to kick the ones unwelcome guests to the scale down.
Step 6: Repair and Restore
With the battlefield cleared, it’s time to rebuild. Fix the ones leaky pipes, update
damaged drywall, and restore your space to its former glory. This is in which the pros
shine, but if you’re feeling adventurous, channel your inner handyman.
Prevention Tips
Nowwhich you’ve conquered the water leak damage, let’s talk prevention. Here are some
golden nuggets to hold your space water leak -proof:
● Regularly check for leaks– don’t allow them to wonder you.
● Insulate pipes in chillier climates– save you freezing and bursting.
● Keepgutters clean– avoid water overflow all through heavy rains.
● Invest in a pleasant sump pump– it’s the superhero of basement floods.
Conclusion
Restoring your space after a water leak damage restoration isn’t a walk inside the park.
It’s extra like a rollercoaster trip with sudden twists and turns. But fear no longer! Armed
with understanding and a high quality can-do attitude, you could flip the tide and reclaim
your space. First things first, don’t be a lone wolf on this conflict. When doubtful, deliver
inside the pros. These specialists are like superheroes with capes manufactured from
knowledge and equipment that can address any water leak damage restoration. They’re
the cavalry you need when things get tough. Your area isn’t always just any space; it is a
VIP, and you’re the commander-in-chief of its healing. Take fee and lead the manner. Roll
up your sleeves, metaphorically speaking, and get ready to dive into the healing
procedure. Think of your space as a phoenix rising from the ashes. It is probably damp
and dreary now, but with dedication and a piece of elbow grease, you could rework it
into a beacon of resilience. Each step you are taking is a step in the direction of making